A Step-by-Step Guide - Removing Assembly Nut from Final Drive Motor (Case, New Holland, John Deere)
")
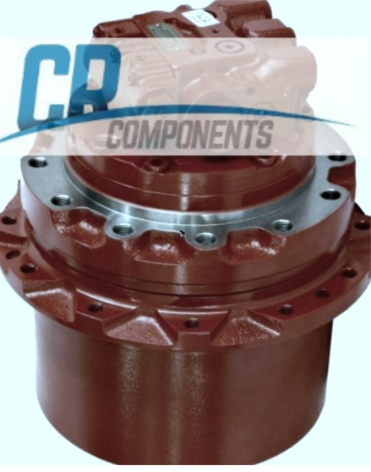
Are you facing the challenging task of removing the assembly nut from your final drive motor? Final drive motorss are crucial components in heavy machinery like Case, New Holland, and John Deere equipment. Over time, these motors may require maintenance or repairs, including the removal of the assembly nut. Don't fret; we've got you covered. This step-by-step guide will equip you to safely and effectively remove the assembly nut from a final drive motor.
Step 1 - Preparing the Work Area
Before beginning any maintenance task, preparing the work area is essential. Ensure that the equipment is safely supported and has enough space to maneuver. Gather all necessary tools and materials, including a Slide Hammer, Dremel with chainsaw bit attachment, cleaning supplies, and a custom-made nut tool.
Step 2 - Removing the End Cover and Planetary Sun Gears
The initial step involves removing the end cover and planetary sun gears to access the assembly nut and expose the two 8mm nut pins. Before proceeding, ensure the internal threads of the nut pins are clear of any debris or grime. A pick, compressed air, or brake cleaner can be handy for this task.
Step 3 - Extracting the Nut Pins
Use a slide hammer with a 5mm bolt to gently tap and remove the nut pins. While they usually come off without much resistance, in the case of breakage, remove the broken piece to salvage the situation.
Step 4 - Cleaning and Smoothing Threads
Once the nut pins are out, clean off any residue to ensure a clear workspace. Utilize a Dremel tool with a chainsaw bit attachment to file back the threads of the nut pins. The goal is to cut back the threads to ensure smooth rotation when removing the assembly nut. Be cautious not to damage the housing threads.
Step 5 - Securing the Assembly Nut
Secure the final drive motor assembly to a bench. Utilize a custom-made nut tool to fit around the four tabs on the assembly nut. Use appropriate drive sizes (e.g., 1/2 inch or 3/4 inch) to fit the tool.
Step 6 - Loosening the Nut
Apply sufficient force to start loosening the assembly nut using the custom tool. Once loosened, the assembly nut should come off easily. If necessary, use flathead screwdrivers to remove the nut.Once loosened, the nut should spin off quickly, allowing access to the bearings and face seals.
Step 7 - Accessing Bearings and Seals
After removing the assembly nut, inspect the seals for any signs of wear or damage. With the nut removed, access to the bearings and face seals becomes seamless. This presents an opportune moment to inspect and replace worn-out components, ensuring optimal performance and longevity of the final drive motor.
Take Away
By following these steps meticulously, removing the assembly nut from your final drive motor becomes a straightforward task, regardless of the brand. With the right tools and techniques, you can ensure smooth operation and prolong the life of your equipment.
Mastering the art of removing the assembly nut is crucial for effectively maintaining and servicing final drive motors. Whether it's a CStep 7 - Accessing Bearings and Sealsase, New Holland, or John Deere, this comprehensive guide equips you with the knowledge and techniques to tackle this task confidently.
Explore Popular Articles
-

How to Extend the Life of Your Skid Steer with Proper Parts
Jun 13th 2025Your skid steer works day after day on rugged terrain, lifting, hauling, and digging. You must give
-
")
How to Rebuild a Track Loader Final Drive Gearbox (Case, New Holland, John Deere)
May 20th 2025If you're dealing with a worn-out or leaking final drive on your compact track loader, this step-by-
-

Step-by-Step Guide to Installing Brake Discs on a Bobcat Hydrostatic Drive Motor
Mar 18th 2025Maintaining the braking system of your Bobcat skid steer loader is crucial for ensuring optimal perf